Getting Started

Thank you for purchasing our theme, We’ve put in lots of love in developing this WordPress theme and are excited that you’ve chosen this theme for your website. We hope you find it easy to use our theme. This documentation guides you through the main features of the theme and guides you how to use and customize theme.

Although every effort has been made to ensure the theme is bug free and easy to use there is always a chance errors may occur. If you do find a problem please notify us immediately through our help center so we can ensure it gets fixed as quickly as possible.

Requirements & WordPress set up

You need to have a WordPress installation on your web-site to use our theme.

General steps to install WordPress CMS to your site

  1. Download the latest WordPress version from https://wordpress.org/download/
  2. Upload zip file to your web-site root folder and unzip
  3. Create database (using your hosting panel)
  4. Set up wordpress. Detailed instructions

Here the list of useful links to install WordPress CMS

  1. How to install WordPress
  2. https://codex.wordpress.org/Installing_WordPress
  3. Installation guide

Recommended PHP Configuration Limits

Sometimes you may get some errors while installing our theme, importing content or activating plugins like white screen or PHP errors. They may be caused by low PHP configurations limits. In this case you need to increase some values. You can do this by your own or contact your hosting providers with the following requrements:

  1. memory_limit 128M
  2. post_max_size 32M
  3. upload_max_filesize 32M

Download Theme

  1. Login Your account at Coffee4dev.com
  2. Go to Download Tab to download theme and child theme

Installing the theme

Installing the theme can be done in two ways. You can upload the theme ZIP file using the built in WordPress theme upload, or copy the files through an FTP client.


Using WordPress Theme Upload

  1. Login to your WordPress admin.
  2. In the Appearance > Themes menu click the tab Install Themes
  3. At the top of the page click, Upload, then click the file input to select a file.
  4. Select the zipped theme file, 30tet.zip available in the package downloaded from your account, and click Install Now
  5. After installation you will receive a success message confirming your new install.
  6. Click the link Activate

Uploading by FTP

  1. Login to your FTP server and navigate to your WordPress themes directory.
  2. Normally this would be wp-content/themes
  3. Extract the files from the zipped theme available in the package downloaded from your account.
  4. Copy the folder tet30 to your themes directory.
  5. After the files finish uploading, login to your WordPress admin.
  6. In the Appearance menu click Themes
  7. Click Activate for the theme 30TET
  8. Installing the child theme 30tet-child.zip file is the child theme file and can be found inside the theme-files folder within unzipped download package.We highly recommend the use of child themes. The additional step involves repeating steps 1 to 7 for 30tet-child.zip file

Required Plugins

  1. After you have activated your theme, you’ll see a notice about required plugins for 30TET, to proceed click Begin installing plugins.
  2. On clicking on it, you will be redirected to Install Required Plugins Page. Alternatively this page can be accessed from Appearance > Install Plugins as well.
  3. You will now see a list of plugins required and recommended for use with this theme. Click on the Select All checkbox to select plugins.
  4. Click on Bulk Actions dropdown menu, choose Install dropdown option and click the Applybutton.
  5. If all plugins are installed successfully, you will be redirected to WP Plugins page.
  6. In case you encounter any problems, try installing theme one by one.
  7. After you have installed all the plugins, activate them by navigating to Plugins page, select the required plugins, choose activate from the dropdown option and click on Apply button.
  8. You have now successfully installed and activated the plugins required for 30TET WordPress Theme.

One Click Demo Import

Importing the Demo Data can be done in two ways. You can import the data through One Click Demo Import Plugin(Recommended), or import it manually.

Here are the steps to import demo content using One Click Demo Import :

  1. Please make sure that you’ve installed the theme and have installed all recommended plugins from Appearance > Install Plugins.
  2. Navigate to Appearance > Import Demo Data and click on Import Demo Data to import the demo content.
  3. The Importer will start by importing images ( in the background ). There are more than 260+ images and hence it will take upto 15 minutes to import all images
  4. The time taken to import all images depends on your bandwidth connection and your PHP memory_limit
  5. After Importing images, the importer will import pages, static blocks, widgets, sliders, menus and other settings.
  6. This is truly a one click demo import process. All you need to do is just click the Import Demo Data button and wait for the import to complete

Manual Import

The dummy data file for the demo content is available inside dummy-data folder within the unzipped download package. You can either use dummy-data.xml or dummy-data.tar.gz, both of which are valid demo content files.


Import Demo Data

  1. Please navigate to Tools > Import inside the WP admin dashboard.
  2. At the bottom of table, there is WordPress Importer. Please click on Install Now, if WordPress Importer is not already installed or Run Importer if it has already been installed.
  3. In the Import WordPress page, click on the file upload button and upload dummy-data.xml file or dummy-data.tar.gz and click on Upload file and import
  4. In the next page, you will be asked to Assign authors. You can create a new user or assign all the newly about to be imported posts to an existing user.
  5. In the Import Attachments section please check the Download and import file attachments option. This options means that you are asking WordPress to download all images and other media files from the demo.
  6. Click on Submit

Home Page Settings

  1. WordPress admin -> Settings -> Reading
  2. Your homepage displays -> A Static Page -> Homepage: select page that you want.

Header Setting

WordPress admin -> 30TET -> Header -> Logo


Menu

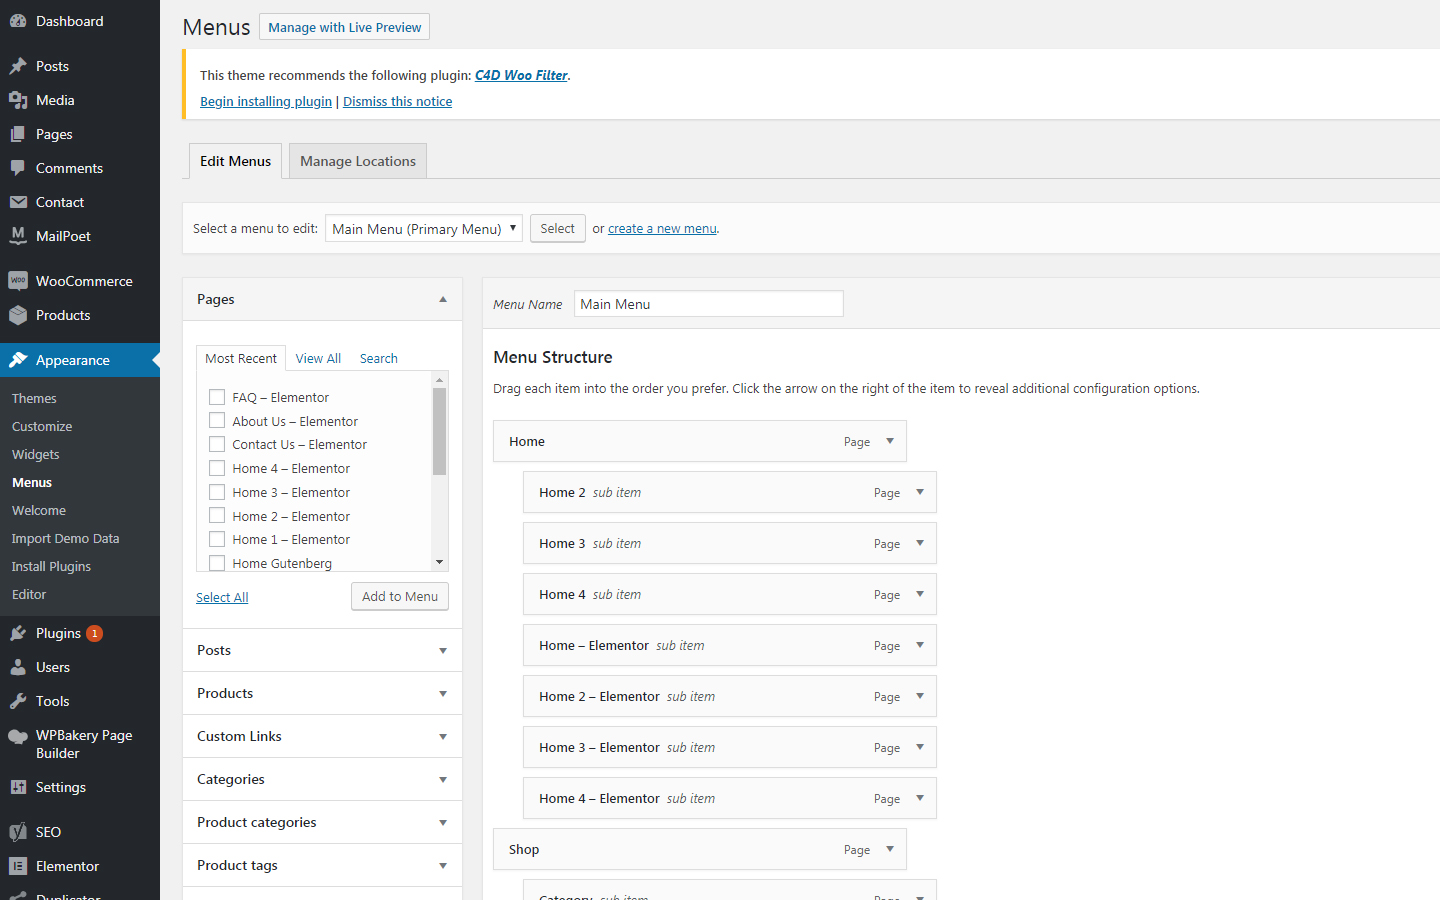
  1. WordPress admin -> Appearrance -> Menu
  2. Create new menu and set Display location: Primary Menu


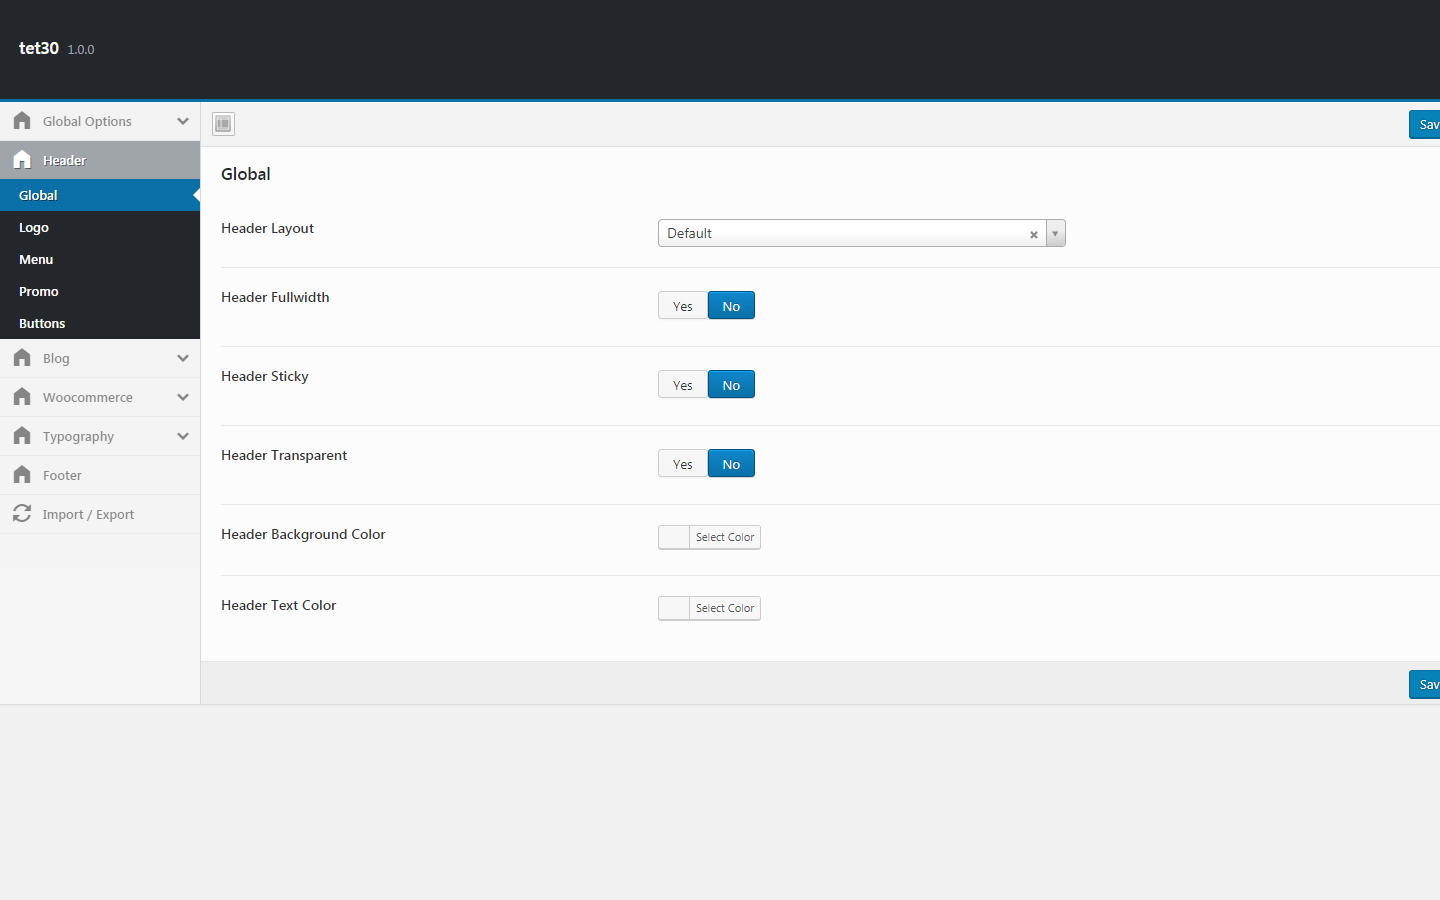
Header Layout

WordPress admin -> 30TET -> Header -> Global -> Header Layout


Header Sticky

WordPress admin -> 30TET -> Header -> Global -> Header Sticky


Header Transparent

WordPress admin -> 30TET -> Header -> Global -> Header Transparent

Slider Setting

Importing Home page sliders


Sliders are not imported with WordPress Importer. The sliders are available inside the dummy-data folder within the download package. They need to be imported separately.
  1. Please navigate to Slider Revolution in your WordPress admin menu.
  2. In the Slider Revolution page, click on Import Slider icon.
  3. In the modal box that pops up, click on the upload file select button and choose home-v1-slider.zip file to import the slider for Home v1.
  4. Please check Append option for Custom Animations and Custom Navigations settings.
  5. Click on Import Slider.
  6. Repeat the above steps to import home-v2-slider.zip, home-v3-slider.zip, home-v4-slider.zip and home-v5-slider.zip sliders.

Woocommerce Setting

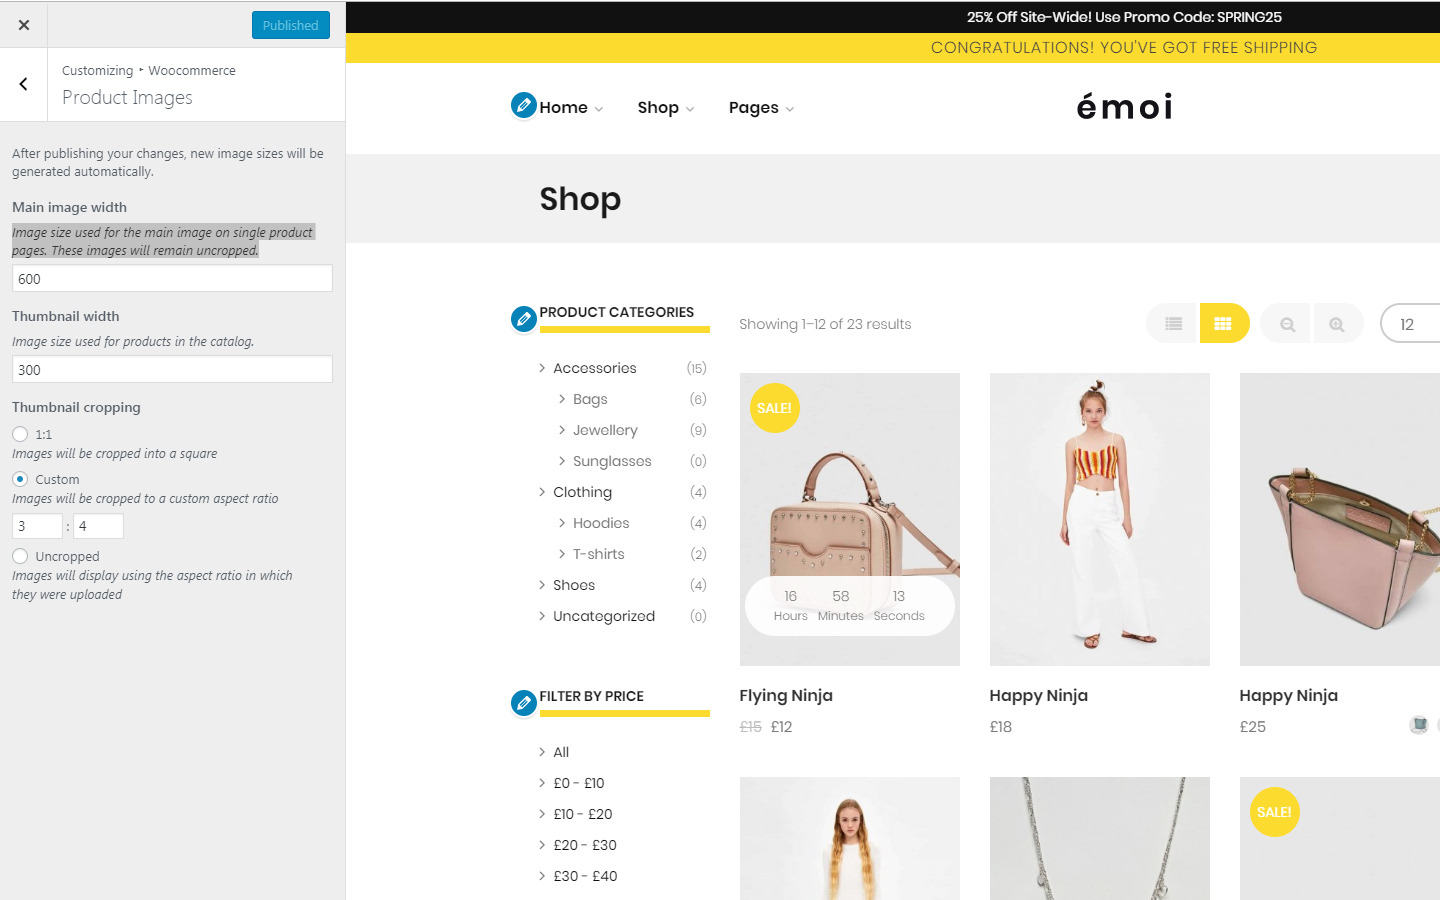
Images Sizes


  1. WP Admin -> Appearrance -> Customize -> Woocommerce -> Product Images
  2. Main Image Width: Image size used for the main image on single product pages. These images will remain uncropped.
  3. Thumbnail Width: Image size used for products in the catalog.


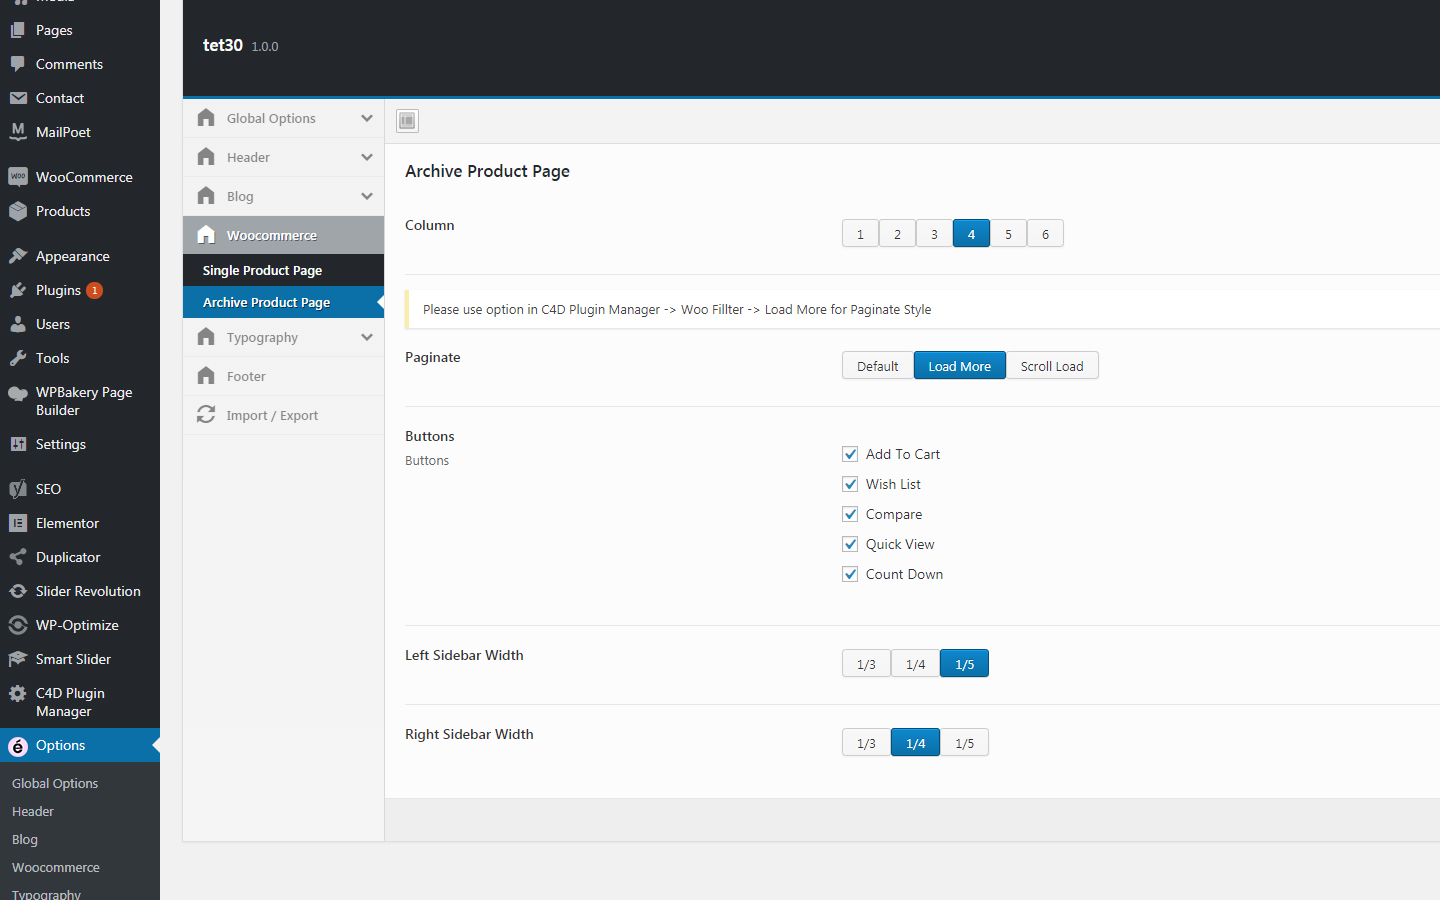
Archive Page Setting


Columns

WP Admin -> 30TET -> Woocommerce -> Archive Product Page -> Column


Sidebar Width

  1. WP Admin -> 30TET -> Woocommerce -> Archive Product Page
  2. Left Sidebar Width or Right Sidebar Width

Show Buttons

WP Admin -> 30TET -> Woocommerce -> Archive Product Page -> Buttons


Load More/ Scroll Load

WP Admin -> 30TET -> Woocommerce -> Archive Product Page -> Paginate
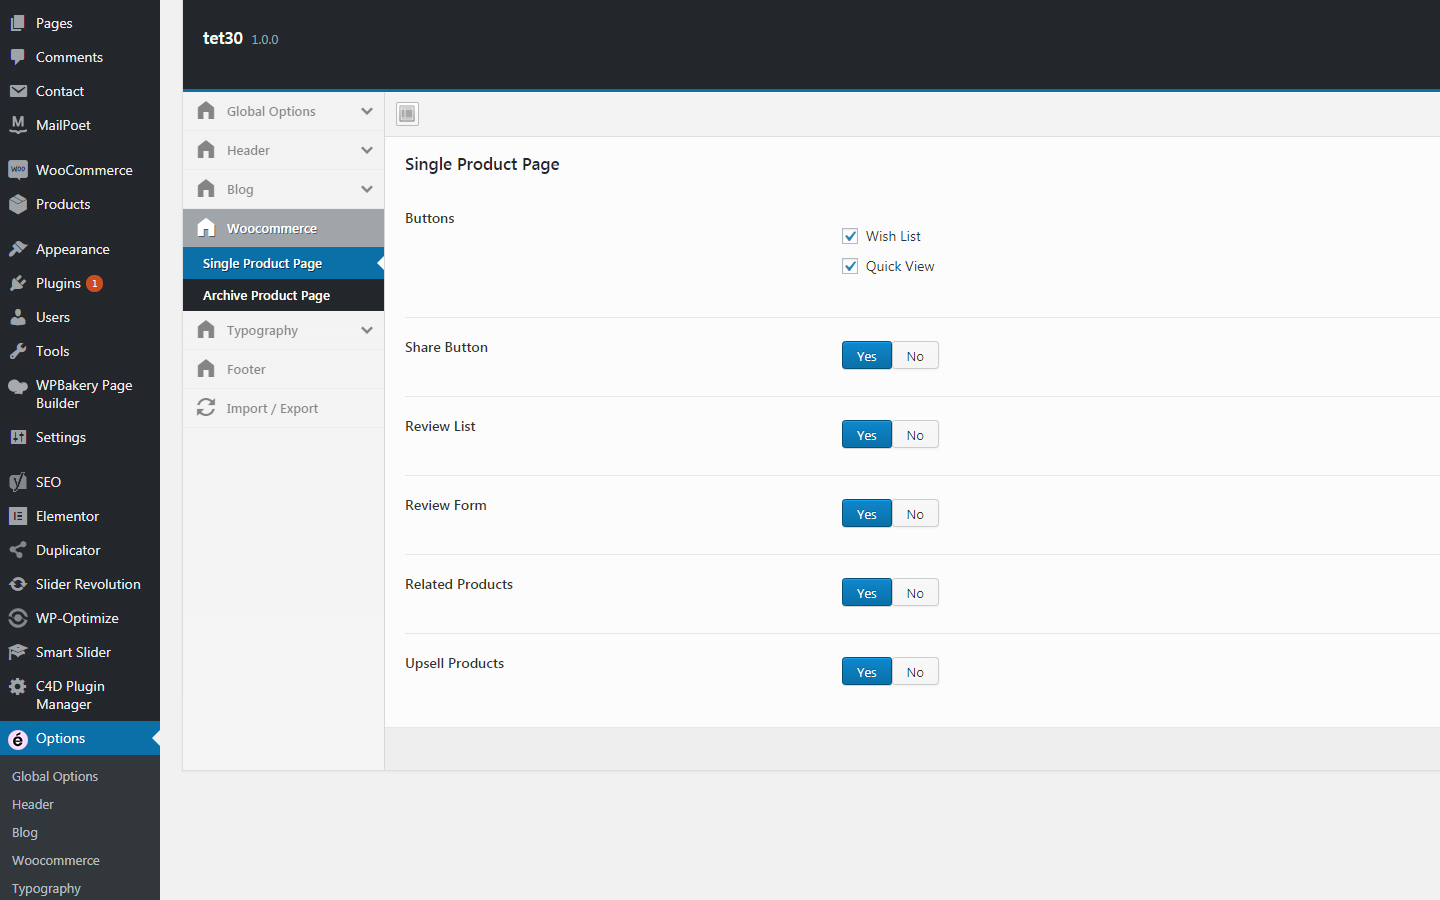


Product Page Setting


Show Buttons

WP Admin -> 30TET -> Woocommerce -> Single Product Page -> Buttons


WP Admin -> 30TET -> Woocommerce -> Single Product Page -> Related Product


Upsell Product

WP Admin -> 30TET -> Woocommerce -> Single Product Page -> Upsell Product


Review Form

WP Admin -> 30TET -> Woocommerce -> Single Product Page -> Review Form


Review List

WP Admin -> 30TET -> Woocommerce -> Single Product Page -> Review List

Blog

Image Sizes

WP Admin -> Settings -> Media

Medium Size: for category page

Large Size: for single page


Blog Style

WP Admin -> 30TET -> Blog -> Archive Page -> Blog Style


Sidebar Width

WP Admin -> 30TET -> Blog -> Archive Page -> Sidebar Left Width

WP Admin -> 30TET -> Blog -> Archive Page -> Sidebar Right Width


Update Theme

Manual Update

Before updating we suggest you to do a back up (save the copy of all your files) and make sure that you are using the latest version of WordPress, WooCommerce and other plugins. To update our theme you need to download the latest version, rename or delete your current theme folder and Upload it from the admin panel or FTP client.


Automatic Update

We recommend you to use Easy Theme and Plugin Upgrades plugin to update existing plugins and themes, including our own theme. With this tool you don't need to rename or delete your theme through the FTP. Just upload new archive and it will replace your existing files.

Child Theme

A child theme is a theme that inherits the functions and styles of the other theme, called the parent theme. Child themes are the recommended way of modifying an existing theme. Our theme has full support for creating child theme.

  1. How to create child theme
  2. A Guide To: WordPress Child Themes Development

Translation

Our theme is ready for translation with Poedit. POT file in languages/30tet.pot and translate strings with Loco Translate plugin

Or you can use WPML plugin, this tool is completely supported by our theme.

Still no luck? We can help!

Contact us and we’ll get back to you as soon as possible.

Submit A Request