How to give each colour its own photo gallery in WooCommerce
A customer picks “Green” on a jacket and the page shows one photo. They wanted to see the back, the collar and how it hangs. They can’t, so they leave to look at the same jacket on another shop’s page.
WooCommerce lets each variation have one image. That is enough for a mug and not enough for clothes, bags or furniture, where the colour changes how the whole product looks. This guide shows how to give every colour its own set of photos, so the gallery changes when the customer picks a colour.
Two ways to show photos per colour
- One image per variation. This is built into WooCommerce. When a customer picks a variation, the main picture changes to that variation’s image. The thumbnails under it stay the same for every colour.
- A set of photos per colour. The main picture and the thumbnails all change to the photos of the chosen colour. WooCommerce can’t do this on its own, so you need a plugin.
Use the first when one clear picture per colour is enough. Use the second when customers need to see more than one angle.
Prepare the photos first
Plan the set before you upload anything. Three to five photos per colour is enough for most products:
- The product from the front. This is the most important photo, so make it the first.
- The back, or the side.
- A detail: the fabric, a zip, a seam, a label.
- The product being used or worn, so customers can judge the size.
Use the same ratio and about the same size for all photos, for example square at 1200 pixels. A gallery whose photos jump between portrait and landscape looks broken when it switches. Keep each file reasonably small, since a product page with five colours loads a lot of images.
Step by step with C4D Variation Images
C4D Variation Images is a free plugin that does this. It has no limit on the number of photos per colour.
- Install and activate it from Plugins › Add New (search for “C4D Variation Swatches & Gallery”). WooCommerce must be active.
- Set the attribute type. Go to Products › Attributes, edit your colour attribute and set its type to Color or Image. The gallery switches for these two types.
- Add the photos. Open a variable product. In the Swatch Images box, find the colour and click Add product gallery images. Select the photos and click Add to gallery. Drag to change the order.
- Update the product and open it on your site. Pick a colour: the main picture and the thumbnails change to that colour’s photos.
The first photo of each colour also becomes its image swatch if you set the attribute to Image, so it is worth choosing it with care.
The setup guide covers these steps with screenshots, and A photo gallery for each colour lists every gallery setting.
What the gallery does not change
The gallery switches only when the customer picks an option of a Color or Image attribute. A text attribute such as size does not change it. That is usually what you want: a medium and a large jacket look the same in photos.
Photos belong to one product. If “Green” appears on a jacket and on a scarf, each product has its own Green photos.
If the gallery does not switch
Most problems come from the theme, which draws its own gallery markup.
- The photos change but the main picture does not. Open C4D Swatches › Product page and check Main gallery selector. It must match your theme’s gallery wrapper. The default,
.woocommerce-product-gallery, matches the standard WooCommerce gallery. - The theme’s gallery looks broken after switching. Turn on Use the plugin gallery in the same tab. The plugin then draws the gallery itself.
- Nothing changes after you edit a product. A caching plugin may be serving the old page. Clear the cache and check again.
- Check it on a phone. Tap each colour and make sure the thumbnails fit and scroll.
See it working
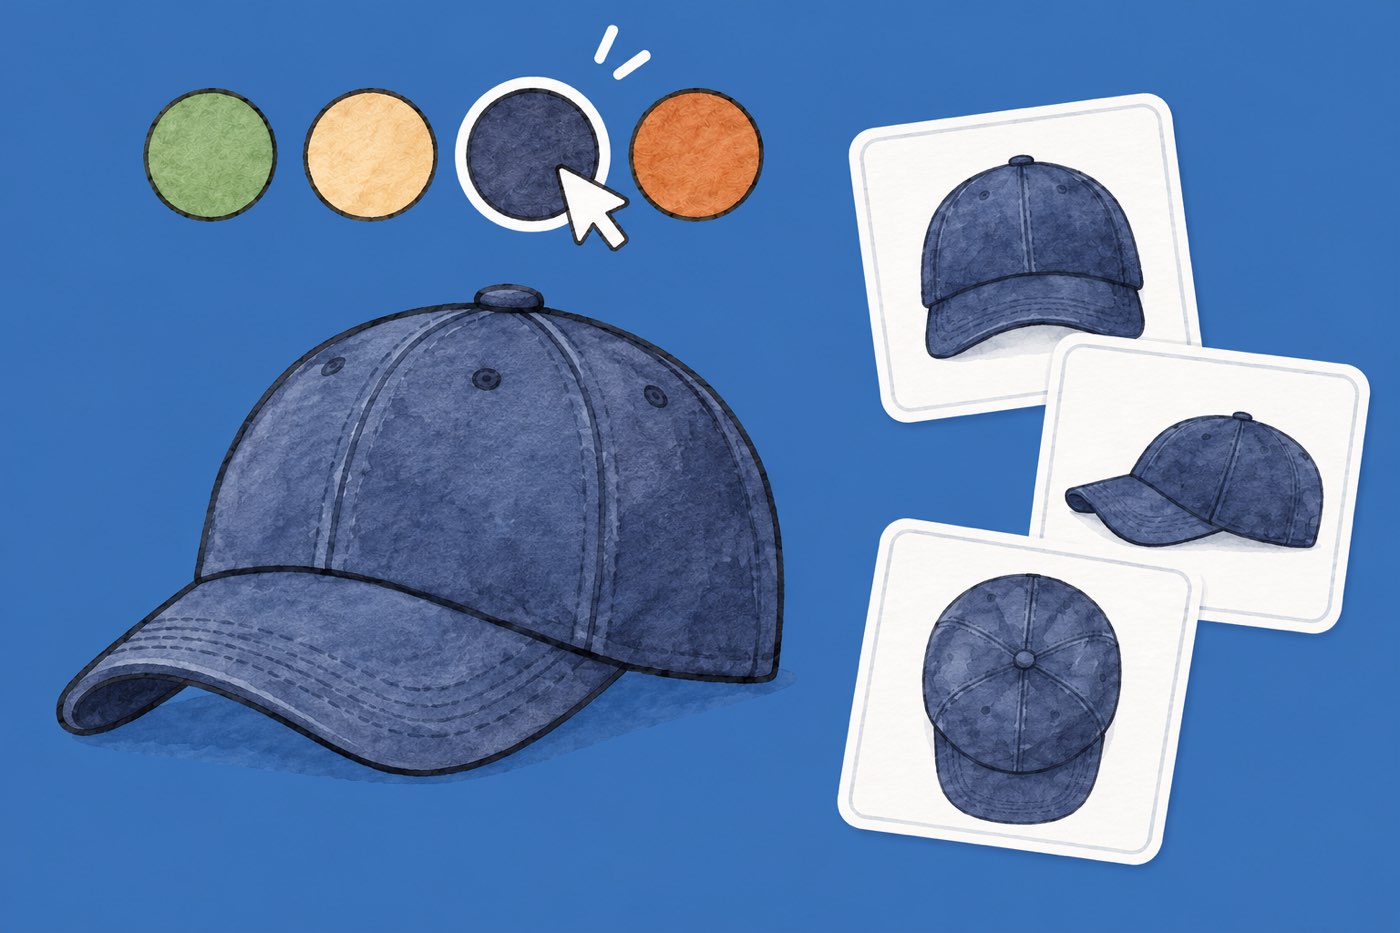
The canvas cap in the demo store has three photos for each of its four colours. Pick a colour and the whole gallery changes.
Questions
How many photos can a colour have? As many as you like. The plugin has no photo limit.
Does the plugin cost anything? No. Every feature described here is free.
Do I need a variation for every photo? No. You create variations for the combinations you sell, such as colour and size. The photos belong to the colour, not to the variation.
Will it slow the product page down? Each extra photo is one more image to load. Resize photos before you upload them and keep the set to what customers need.
If you want to compare the plugin with what you use now, start with the plugin page.